Japanese Hibachi Fried Rice Recipe: Make Restaurant-style at Home
If you've ever sat down at a hibachi restaurant and watched the chef work their magic on that giant flat-top grill, you know exactly what I'm talking about. That smoky, buttery, perfectly seasoned fried rice that comes out golden and delicious every single time. Well, I finally cracked the code at home, and honestly, this recipe has become one of my most-made weeknight dinners. It's quick, it uses simple ingredients, and the flavor is so close to the real thing that my family has stopped requesting takeout on Friday nights. Let me walk you through everything you need to know to pull this off in your own kitchen.
Getting That Perfect Hibachi Fried Rice Color and Texture
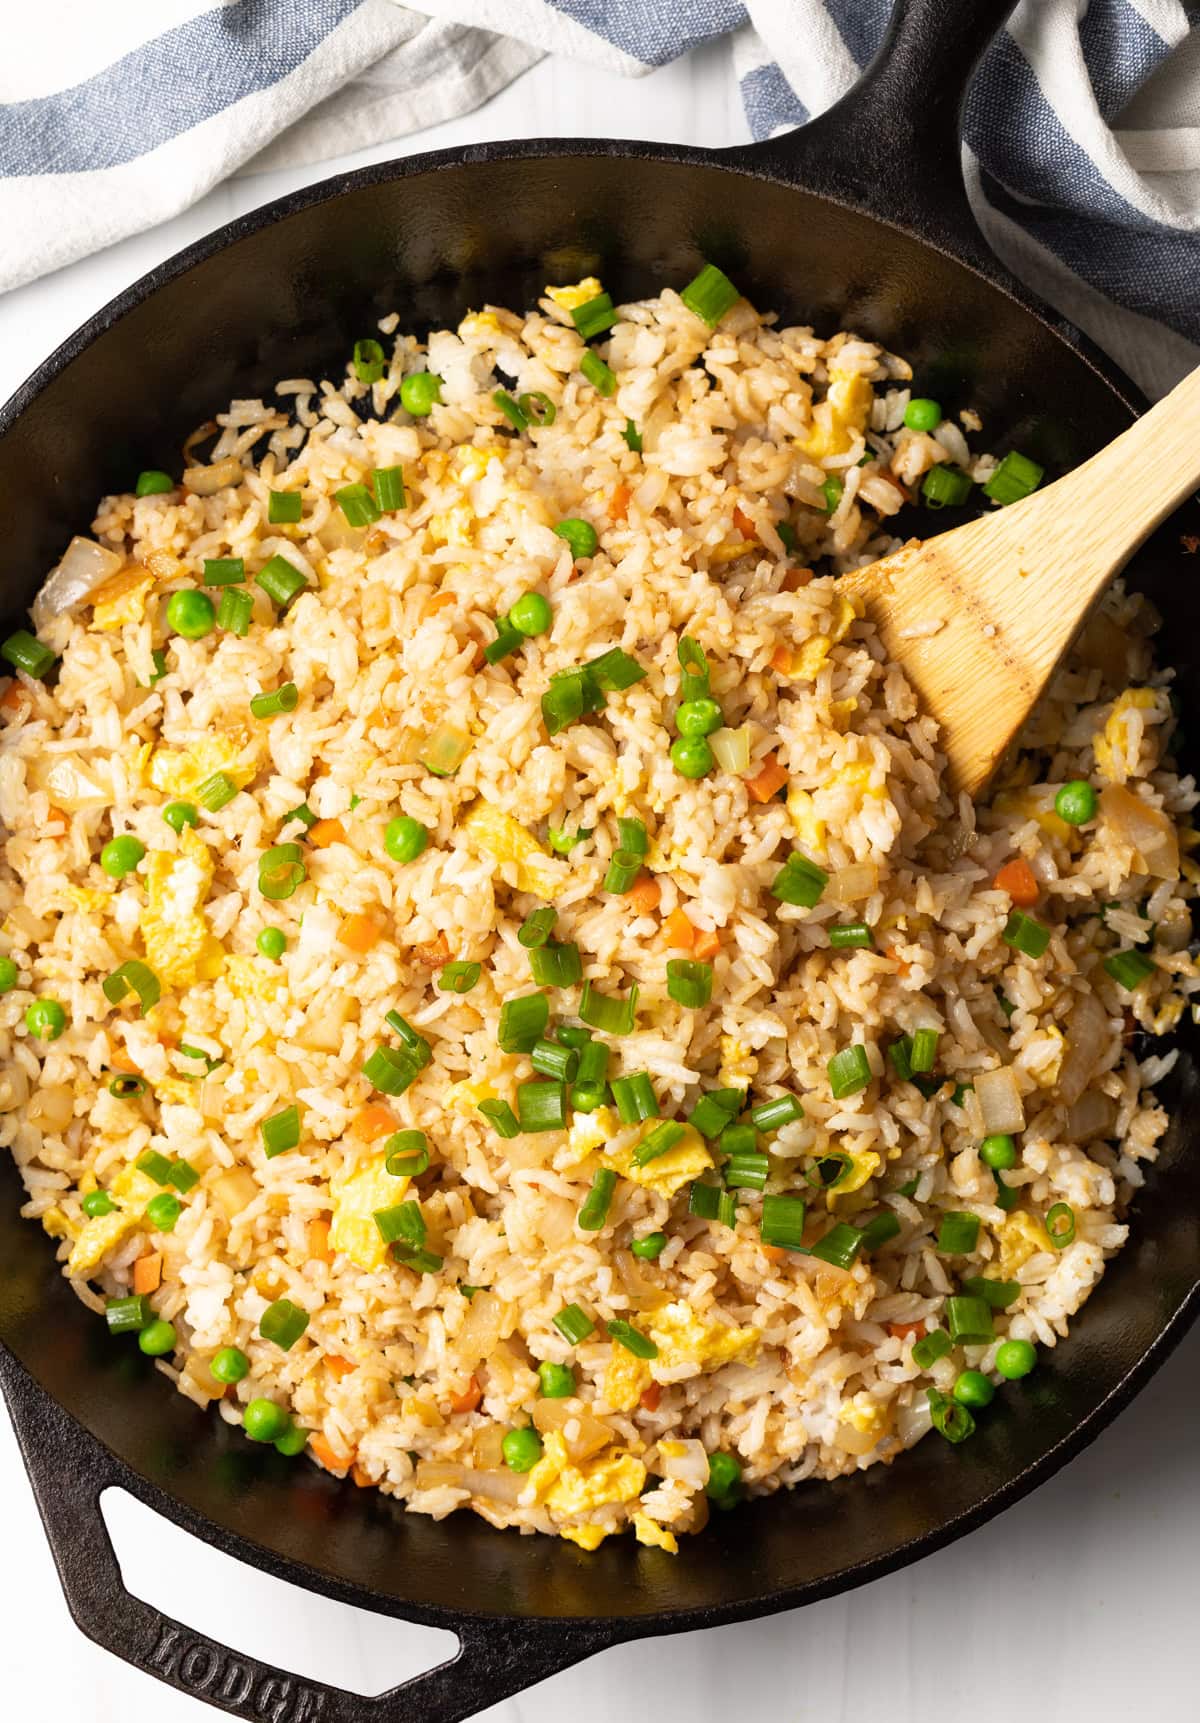
The secret to nailing hibachi fried rice at home starts with day-old rice. Freshly cooked rice holds too much moisture turns mushy in the pan. When I use rice that's been sitting in the fridge overnight, it fries up beautifully — each grain stays separate and gets slightly crispy edge that makes hibachi rice so irresistible. The other key is high heat. Don't be shy with your burner. You want that pan screaming hot before anything goes. That's what creates theky, toasty flavor that sets hibachi rice apart from regular fried rice.
- 3 cups cooked white rice, preferably day-old and chilled
- 2 tablespoons unsalted butter
- 2 tablespoons soy sauce
- 1 tablespoon sesame oil
- 2 large eggs cup frozen peas and carrots, thawed cloves garlic, minced
- 3 green onions, sliced
- Salt white pepper to taste
- 1 tablespoon vegetable oil
- Heat a large wok or skillet over high heat until very hot, then add the vegetable oil and swirl to coat the surface evenly.
- Add the minced garlic and stir-fry for about 30 seconds until fragrant, being careful not to let it burn.
- Toss in the peas and carrots and stir-fry for 2 minutes until heated through and starting to get a little color.
- Push the vegetables to one side of the pan, crack the eggs into the empty space and scramble them quickly until just set.
- Add the chilled rice to the pan, breaking up any clumps with your spatula, and mix everything together.
- Add the butter let it melt over the rice, then pour in the soy sauce and sesame oil, tossing everything together continuously.
- Season with salt and white pepper, stir-fry for another 2 to 3 minutes until the is evenly coated and slightly crispy.
- Remove from heat, garnish with sliced green onions, and serve immediately.
Plating and Serving Your Hibachi Fried Rice Like a Pro

Once your rice is done presentation honestly makes a big difference. I like to pack hot rice into a small bowl, press it down lightly, and then flip it onto plate so it comes out in neat mound — just like they do at the restaurant. A sprinkle of toasted sesame seeds and a few extra green onion slices on top goes long way. This pairs beautifully with hibachi-style chicken steak, shrimp, or even on its own as a satisfying meal. I've also started doubling the batch because leftovers reheat surprisingly well in pan with a tiny drizzle of sesame oil to bring back to life.
- Toasted sesame seeds for garnish
- Extra sliced green onions for topping
- Yum yum sauce or spicy mayo for dipping on the side
- Hibachi-style protein of choice (chicken, shrimp, steak)
- Steamed orir-fried vegetables as a side
- Small ramekin bowl for molding plating
- Let the finished fried rice sit off the heat for about minute so it firms up slightly beforeating.
- Lightly grease a small ramekin or bowl with a tiny bit of ses prevent sticking.
- Pack the rice firmly into the ramekin, pressing down so it holds its shape when unmolded.
- Place serving plate face-down on top of the ramekin, then carefully flip both together lift the ramekin away to reveal a neat rice mound.
- Sprinkle toasted sesame seeds generously over the top the rice mound.
- Scattericed green onions around on top for and freshness.
- Serve immediately alongside your choice of hibachi protein vegetables, withum yum sauce on the side for dipping.
- Enjoy while for best texture and flavor experience