Classic Homemade Waffle Recipe: Fluffy, Golden, and Ready in Minutes
There is something deeply satisfying about a homemade waffle. The crispy edges, the soft and airy center, the way it holds pools of warm maple syrup just right — it is the kind of breakfast that turns an ordinary morning into something worth waking up for. Whether you are making brunch for the family or treating yourself on a lazy weekend this classic waffle recipe delivers consistent delicious results every single time. With simple pantry staples and a straightforward method, you will wonder why you ever reached for the boxed mix.
Fluffy Homemade Waffles Fresh from the Iron
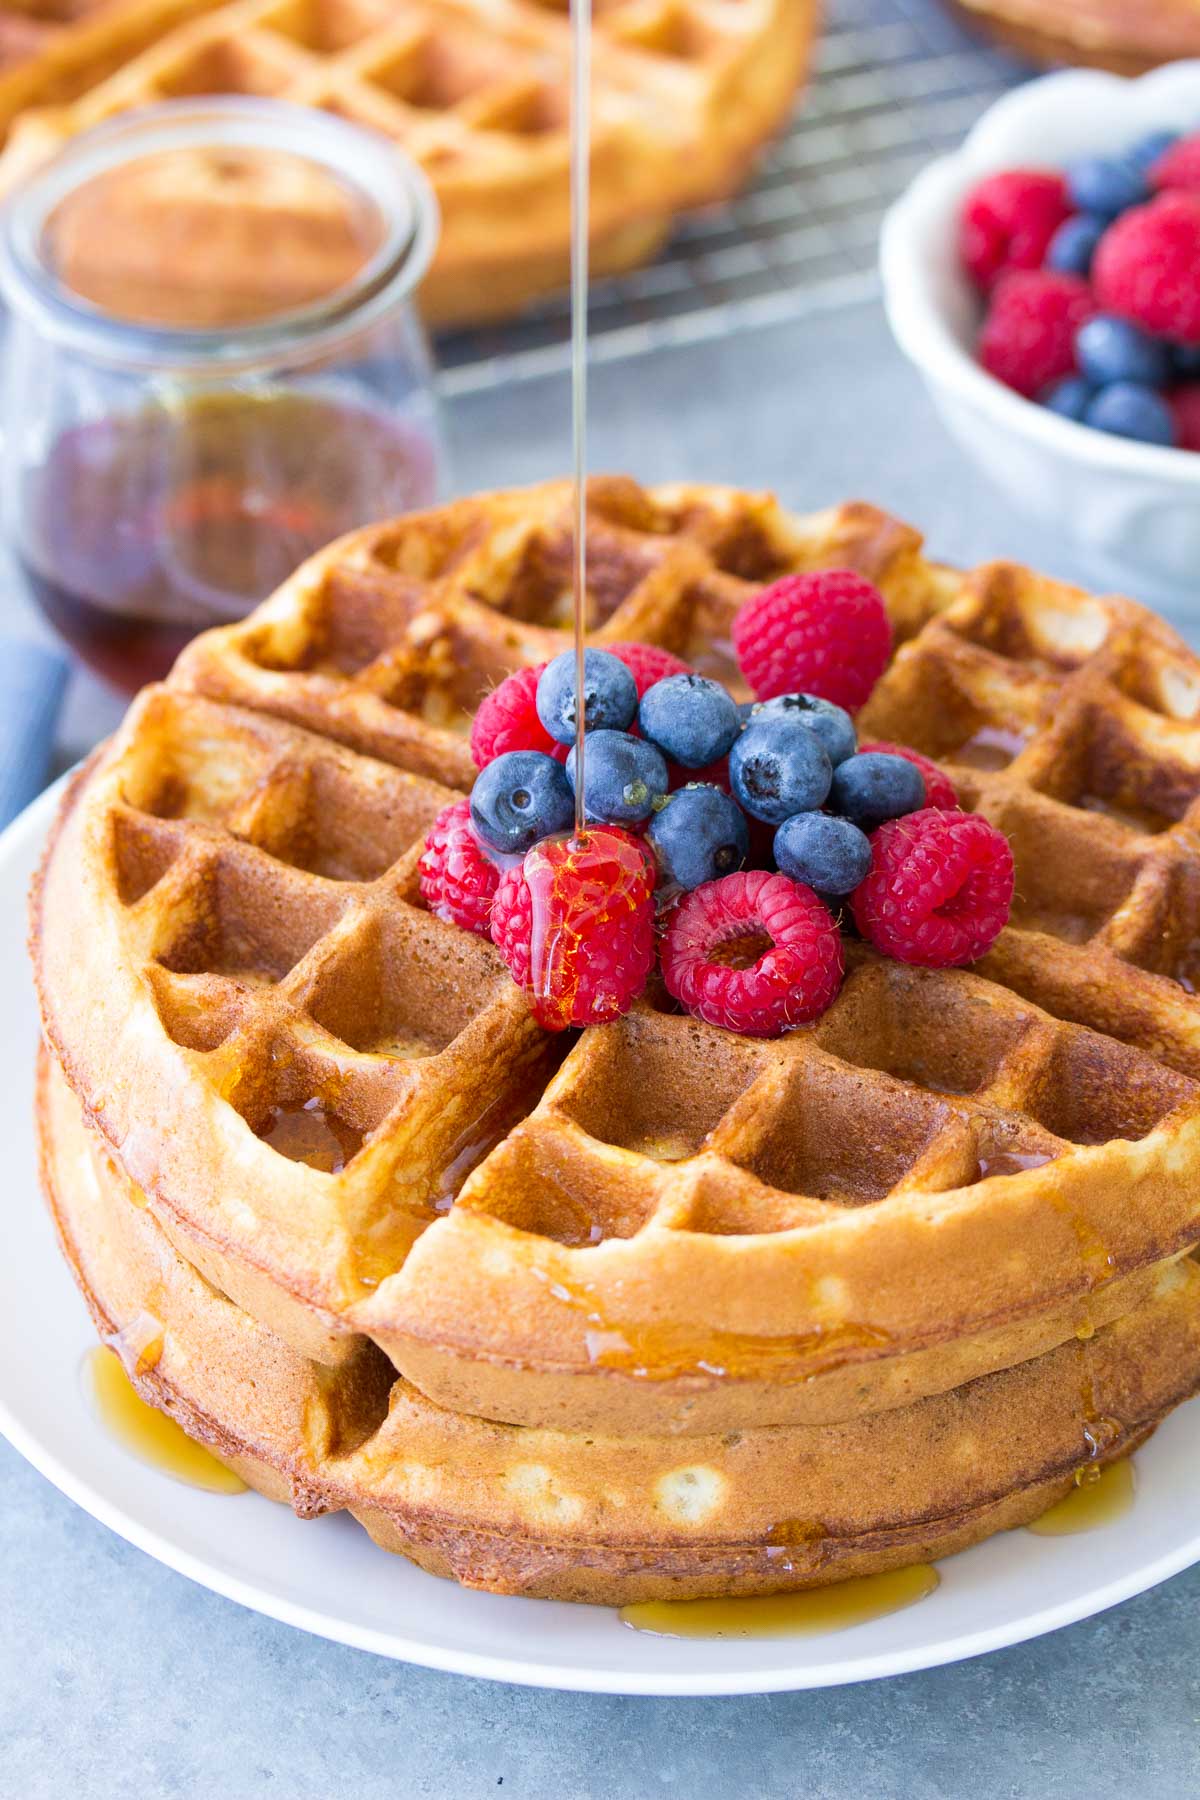
This recipe producesaffles with a beautifully golden exterior and a light, tender crumb inside. The secret lies in a few small but meaningful techniques separating the eggs not overmixing the batter, and letting the waffle iron get fully hot before the first pour. Once you nail these steps, you will have a go-to waffle recipe that never lets you down. Serve them with butter, fresh fruit, whipped cream, or a generous drizzle of pure maple syrup for breakfast that feels both comforting and special.
- 2 cups all-purpose flour
- 2 tablespoons granulated sugar
- 1 tablespoon baking powder
- 1/2 teaspoon salt
- 2 large eggs, separated
- 1 3/4 cups whole milk
- 1/2 cup unsalted butter, melted and slightly cooled
- 1 teaspoon pure vanilla extract
- Preheat your waffle iron according to the manufacturer's instructions and lightly grease it with non-stick spray or amount of melted butter.
- In a large mixing bowl, whisk together the flour, sugar, baking powder, and salt until evenly combined
- In a separate bowl, whisk the egg yolks, milk, melted butter, and vanilla extract together until smooth
- Pour the wet ingredients into the dry ingredients and stir gently until just combined. A few small lumps are perfectly fine do not overmix.
- In a clean bowl, beat the egg whites with a hand mixer or stand mixer until stiff peaks form.Gently fold the egg whites into the batter using a spatula, taking care not to deflate them This step is what gives the waffles their signature fluffiness.
- Pour the appropriate amount of batter into your preheated waffle iron, close the lid, and cook until the waffles are golden brown and steam has mostly stopped escaping, usually 4to 5 minutes.
- Carefully remove the waffle and serve immediately, keep warm in a 200°F oven while you finish the remaining batter.
Classic Waffle Recipe the Whole Family Will Love
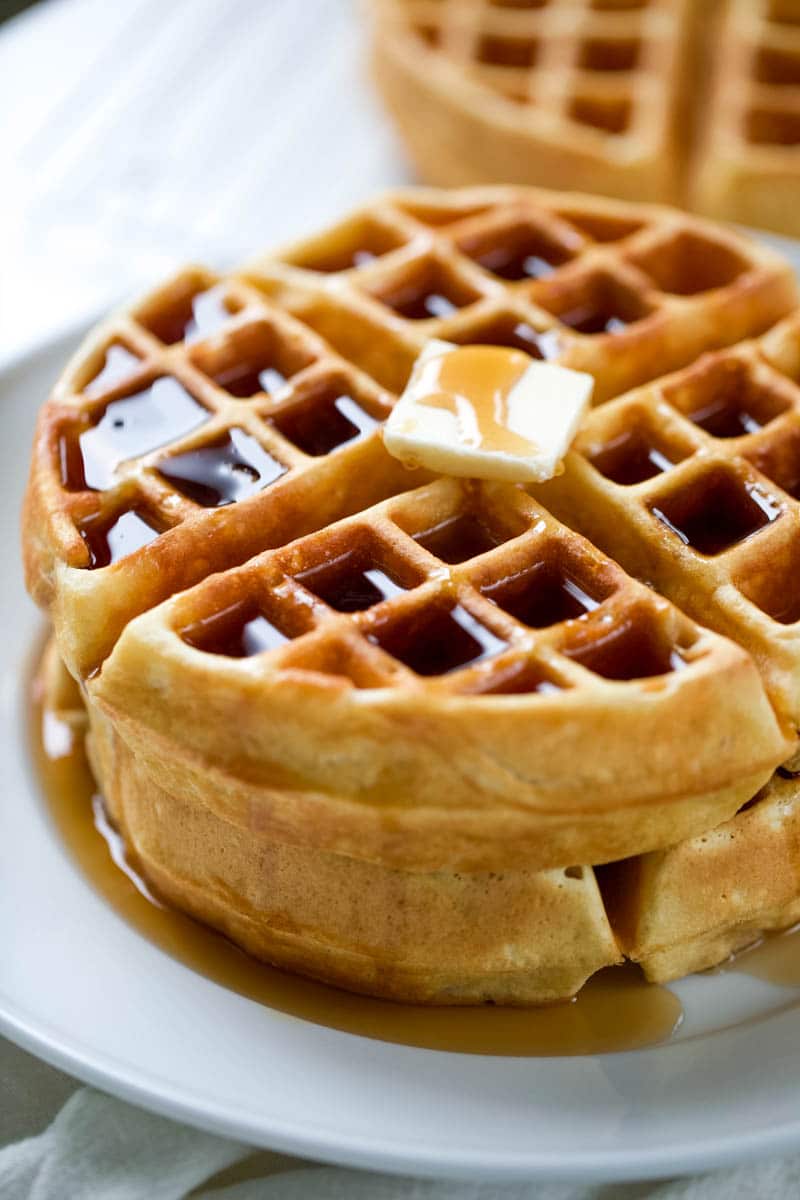
This classic version is endlessly versatile and perfectly crowd-friendly. The batter comes together in under ten minutes, making it a realistic option even on busy mornings. You can keep the recipe as written for, lightly sweet flavor, or customize it by adding a pinch of cinnamon, a handful of blueberries, or even a tablespoon of cocoa powder for a chocolate twist Leftovers freeze beautifully too just pop them in the toaster for a quick weekday breakfast that tastes just as good as fresh off the iron.
- 2 cups all-purpose flour
- 2 teaspoons baking powder
- 1/2 teaspoon baking soda
- 1 tablespoon sugar1/2 teaspoon salt1/2 teaspoon ground cinnamon (optional)
- 2 large eggs
- 2 cups buttermilk
- 1/3 cup vegetable oil or melted butter
- 1 teaspoon vanilla extract
- Heat your waffle iron and grease it lightly with cooking spray or butter to prevent sticking.
- Whisk the flour, baking powder, baking soda, sugar, salt, and cinnamon together in a large bowl.
- In a separate bowl or large measuring cup, beat the eggs and then mix in the buttermilk, oil, and vanilla extract.
- Add the wet mixture to the dry ingredients and stir until just incorporated. The batter should be slightly thick pourable. Avoid overmixing.
- Let the batter rest for 3 5 minutes while the waffle iron finishes heating This short rest helps the leavening activate lighter texturePour batter onto the center of the hot waffle iron, spreading it slightly toward the edges before closing the lid.
- Cook until the waffle is deep golden and crisp, about 4 to 6 minutes depending on your iron
- Remove and serve right away with your favorite toppings, or transfer to a wire rack to cool before storing in an airtight bag the freezer for up to one month.